Best practices for activating your travel SIM card kit
Key Takeaways
- Check compatibility before purchasing a travel SIM card.
- Understand activation steps relevant to your selected provider.
- Keep an eye on coverage options to ensure reliable service.
- Have your device ready for quick activation upon arrival.
- Consider using a travel SIM card kit that offers ease of use and no entity charges.
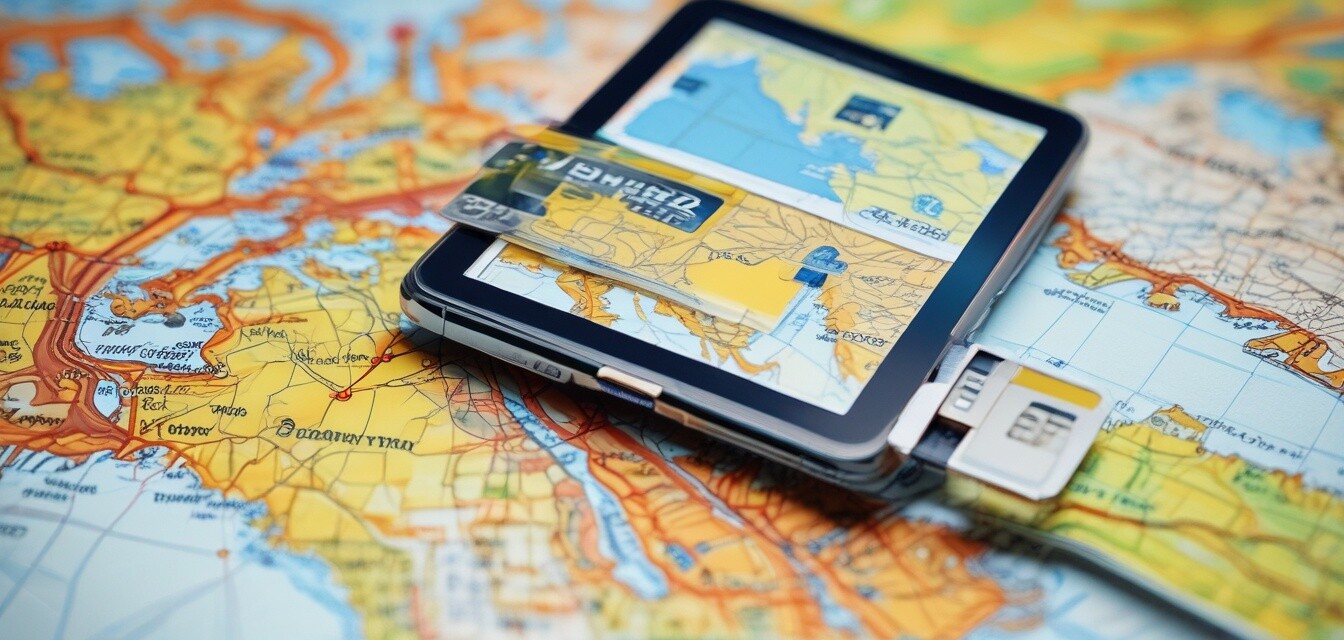
Traveling abroad can be exciting, but staying connected to friends and family back home is crucial. One of the best ways to maintain communication while exploring new places is by using a travel SIM card. This article will guide you through best practices for activating your travel SIM card kit to ensure a smooth start to your trip.
Why Use a Travel SIM Card Kit?
Using a travel SIM card kit allows you to stay connected without incurring hefty roaming charges. These kits often come loaded with various data plans and coverage options suited for international travel.
Understanding Your SIM Card Kit
Before you arrive at your destination, make sure to review the components of your travel SIM card kit. Here’s a typical breakdown:
| Component | Description |
|---|---|
| SIM Card | Allows your device to connect to a local mobile network. |
| Activation Instructions | Step-by-step guide specific to your provider. |
| Plan Information | Details on data limits, call minutes, and expiration dates. |
Steps for Activating Your Travel SIM Card
Activating your travel SIM card can be straightforward if you follow these steps:
- Ensure Compatibility: Make sure your phone is unlocked and compatible with the SIM card’s network.
- Insert the SIM: Carefully insert the SIM card into your device’s SIM tray.
- Follow Activation Instructions: Use the guide provided in the kit to activate your SIM.
- Select Your Plan: Choose a suitable prepaid plan during the activation process.
- Test Your Connectivity: After activation, test your device to ensure you have service.
Common Troubleshooting Tips
If you encounter problems during activation, try the following:
- Restart your device.
- Check if the SIM card is inserted correctly.
- Ensure you are within the network coverage area.
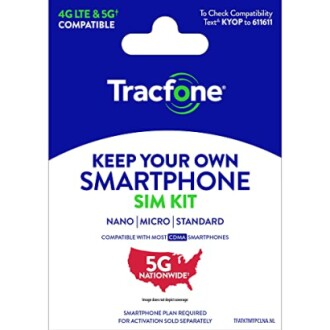
Product Highlight: Tracfone Prepaid SIM Card Kit
For a reliable travel SIM card, consider the Tracfone Prepaid SIM Card Kit (Verizon Network). Here’s a closer look at this product:
 Top Choice
Tracfone Prepaid SIM Card Kit
Stay connected on the go with this reliable SIM card kit featuring the Verizon network and 5G technology.
Learn MoreTips for Using Your Travel SIM Card
Additional Tips
- Always have a backup plan, such as a local Wi-Fi hotspot.
- Download important maps and guides before using mobile data.
- Consider international travel insurance that covers mobile services.
Conclusion
Activating your travel SIM card can enhance your travel experience considerably. By following the steps outlined in this guide, you will be able to connect and communicate seamlessly throughout your journey. Remember to choose a reliable provider and stay informed about their plans and coverage options.
For more tips on SIM card organization, visit our SIM Card Organization Tips resource. Happy traveling!
Pros
- Easy to set up and use
- Affordable plans with no hidden fees
- Reliable network coverage with 5G availability
Cons
- Compatibility issues with some devices
- Limited customer support if problems arise