How to Connect to Local Networks with Your SIM Card Kit
Key Takeaways
- Ensure your phone is unlocked before using a local SIM card.
- Follow the installation instructions carefully to avoid connectivity issues.
- Choose the right data plan based on your travel needs.
- Keep track of your data usage to avoid unexpected charges.
- Know how to toggle between multiple SIM cards if using a dual SIM phone.
Traveling abroad can be thrilling, but ensuring you stay connected is essential. With a travel SIM card kit, you can easily connect to local networks, allowing you to access the internet, make calls, and stay in touch with family and friends. This guide provides step-by-step instructions on how to connect to local networks using your travel SIM card kit once you arrive at your destination.
Step 1: Prepare before your trip
- Check your phone's compatibility with local networks.
- Ensure that your phone is unlocked for the use of foreign SIM cards.
- Purchase a suitable travel SIM card kit that covers your destination.
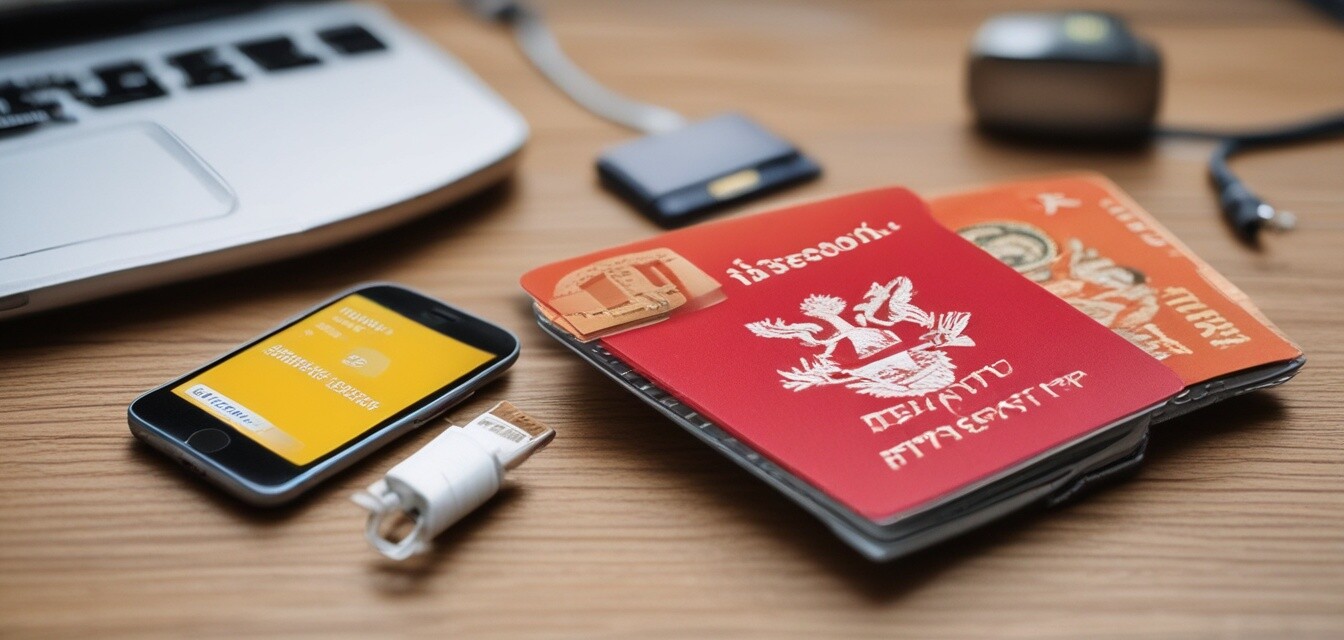
Step 2: Install the SIM card
Once you've arrived at your destination, it's time to install your new SIM card. Follow these steps:
- Locate the SIM card tray on your phone. It’s usually found on the side or back of the device.
- Use a SIM ejector tool (or a paper clip) to open the tray.
- Remove the existing SIM card if necessary and place your travel SIM card into the tray.
- Reinsert the tray back into the phone.
Step 3: Configure network settings
After inserting the SIM card, you may need to adjust your phone’s network settings:
- Go to your phone's Settings.
- Select Network & Internet or Connections.
- Choose Mobile Network.
- Set the network mode to Automatic to allow your phone to connect to local networks.
Step 4: Choose the right data plan
Most travel SIM card kits come with several data plan options. Choose one that suits your usage:
- Short-term plans for brief stays
- Data sharing options for multiple devices
- Unlimited options if you plan on heavy usage
Step 5: Monitor your data usage
To avoid unexpected charges, monitor your data usage regularly. Most phones have built-in features that help you track how much data you have used. To check:
- Go to Settings.
- Select Network & Internet.
- Click on Data Usage and view your mobile data statistics.
Step 6: Troubleshooting common issues
If you're experiencing connectivity issues, here are some solutions:
- Restart your phone to refresh the network connection.
- Check if the SIM card is inserted correctly.
- Ensure airplane mode is off.
- Try switching to a different mobile network (if available).
Pros
- Easy to use and set up upon arrival.
- Cost-effective for travelers needing data and call capabilities.
- Offers flexibility with various plans to suit different needs.
Cons
- Some plans may have limited coverage in certain areas.
- You might need to switch SIM cards frequently if traveling to multiple countries.
- Data speeds may vary significantly depending on the provider.
Conclusion
Having a travel SIM card kit can significantly enhance your travel experience by providing reliable connectivity on the go. By following these simple steps, you can connect to local networks easily and avoid unnecessary hassles. For more tips on staying connected while traveling, check out our Connectivity Tips category.